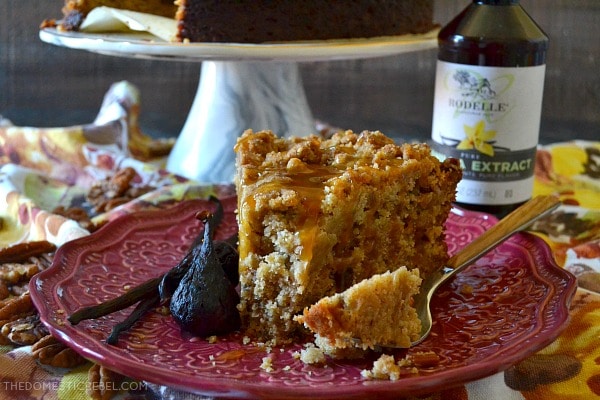
This buttery, moist Fig & Vanilla Bean Crumb Cake will become your new favorite! With a sweet, sticky fig flavor and flecks of warm vanilla beans, it’s sure to please everyone!
- Easy
- 75 mins
- 10 servings

Ingredients
FOR THE STREUSEL:
- 2 cups brown sugar
- 2 & ¼ cups all-purpose flour
- 2 sticks (1 cup) salted butter, melted
- 1 cup chopped pecans, optional but recommended
FOR THE CAKE:
- ¾ cup salted butter, softened
- 1 cup granulated sugar
- 2 large eggs
- 1 tsp Rodelle Vanilla Extract
- 1 Rodelle vanilla bean, caviar scraped out
- 1 cup Greek yogurt or full-fat sour cream
- 2 cups all-purpose flour + 2 Tbsp
- 1 & ¼ tsp baking powder
- ½ tsp baking soda
- One 16-oz jar fig preserves (we used this one)
- 1 cup dried figs, pitted, stems removed and roughly chopped
Uses
Directions
- Preheat your oven to 350 degrees F. Lightly grease a 9" round springform pan with cooking spray, then place a parchment round in the bottom and spray again. Set aside.
- In a large bowl, combine the streusel ingredients with a spoon until moistened and crumbly. Set aside.
- Meanwhile, in the bowl of a stand mixer, cream the butter and granulated sugar together until fluffy, about 1 minute.
- Beat in the eggs, one at a time, followed by the vanilla and vanilla bean caviar.
- Add in the Greek yogurt/sour cream and mix well, followed by 2 cups of the flour, the baking powder, and baking soda until a smooth batter comes together.
- Lastly, beat in the fig preserves.
- In a small bowl, combine the chopped figs with the 2 Tbsp flour until coated; fold the flour-coated fig pieces into the cake batter gently.
- Pour the cake batter into the bottom of the springform pan and smooth out the top. Top with huge, liberal handfuls of the crumb mixture. It will seem like a lot of crumb, but use all of it!
- Bake for approx. 50-60 minutes or until a toothpick or cake tester inserted near the center comes out clean or with moist - not wet - crumbs.
- Cool completely before serving. Serve with caramel sauce, if desired.
Note: this recipe was prepared by Hayley from The Domestic Rebel for Rodelle. Click here to view the original post, more pictures, and some helpful tips!