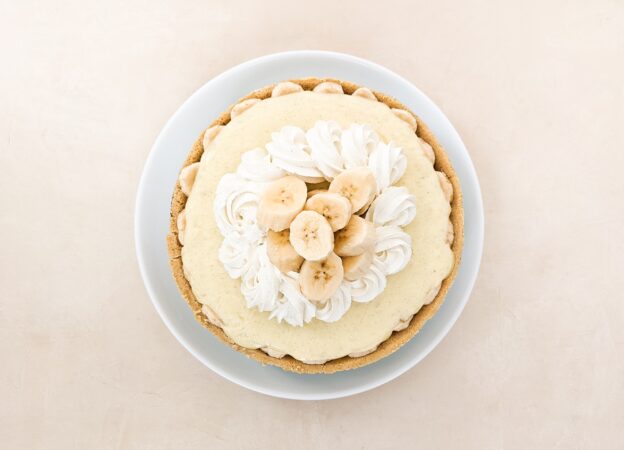
Lightly sweetened vanilla whipped cream, delicious custard filling and a vanilla wafer crumb crust all perfectly compliment bananas in this Ultimate Vanilla Banana Cream Pie!
- Easy
- 10 servings

Ingredients
- 1 9-inch vanilla wafer crumb crust, baked and cooled (or use your favorite store-bought variety
- 3 large, ripe bananas
- 1 Rodelle Gourmet Vanilla Bean
- 1/2 cup sugar
- 2 1/2 cups milk, divided (preferably whole)
- 2 large eggs
- 3 1/2 tbsp cornstarch
- 1/4 tsp salt
- 2 cups heavy cream
- 1/2 cup confectioners' sugar
- 2 tsp Rodelle Pure Vanilla Bean Paste or 1/2 of a Rodelle Vanilla Bean, split and scraped
Uses
Occasions
Directions
- Slice each banana into 1/4-inch thick slices and arrange on the bottom of the prepared pie crust. You should have enough banana slices for 2-3 layers of fruit.
- Cut the vanilla bean in half lengthwise and, using the back of a knife or spoon, scrape the seeds out of the vanilla pod
- In a medium saucepan, combine sugar, vanilla and 2 cups of milk.
- Bring to a simmer, stirring occasionally to dissolve the sugar.
- In a medium bowl, whisk together remaining 1/2 cup milk, eggs, cornstarch and salt until smooth. When the vanilla milk comes to a simmer, slowly temper the egg mixture by stream about 1 cup of the hot milk into the the medium bowl while whisking continuously.
- Pour everything back into the saucepan and cook for 3-5 minutes, whisking frequently, until the custard thickens and begins to bubble.
- Remove custard from heat and pour over the banana slices in the pie crust. Tap the pie plate gently on the counter to remove any air bubbles.
- Cover the top of the custard with a piece of plastic wrap to prevent skin from forming, then chill for about 3 hours, or overnight, until completely set.
- In a large bowl, beat heavy cream to soft peaks. Whip in confectioners’ sugar and vanilla bean paste or scrape the seeds out of half a vanilla bean.
- Mix until vanilla is well-incorporated and cream comes to stiff peaks. Spread whipped cream over set vanilla cream filling. Refrigerate until ready to serve.
This recipe was originally developed for Rodelle by Nicole from Baking Bites. Photo taken by Kathryn Herndon at @kniftykat