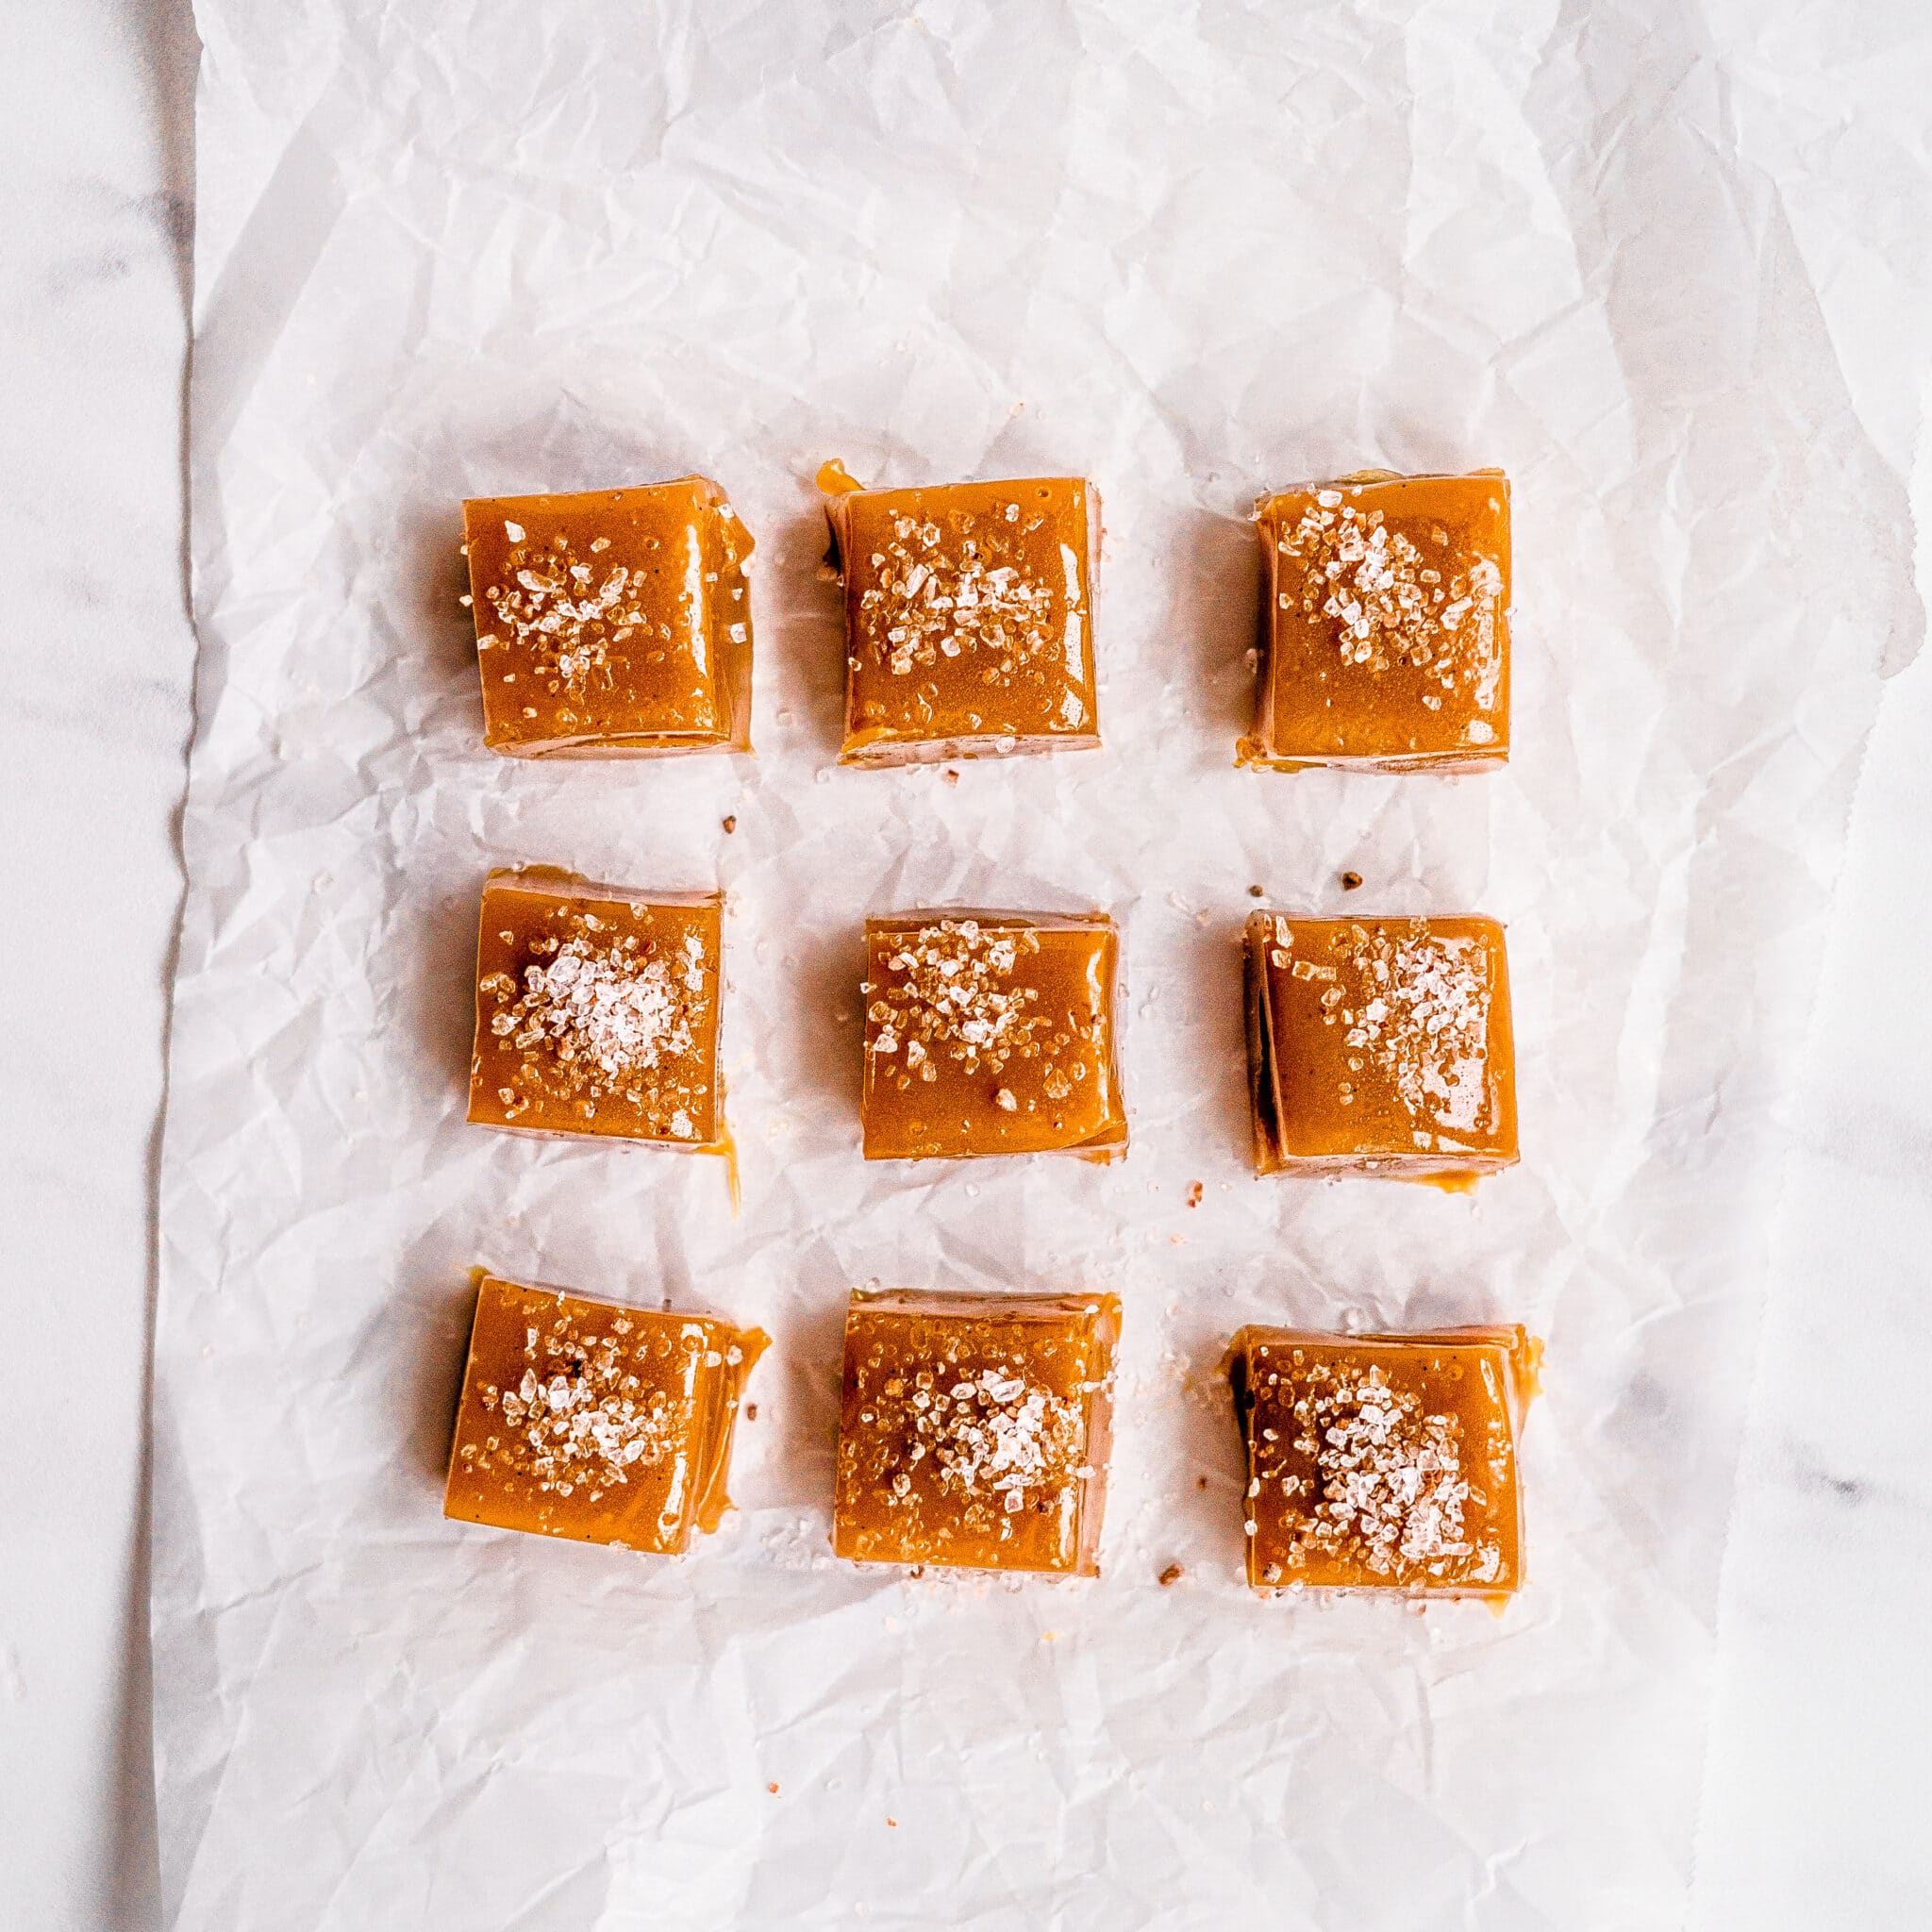
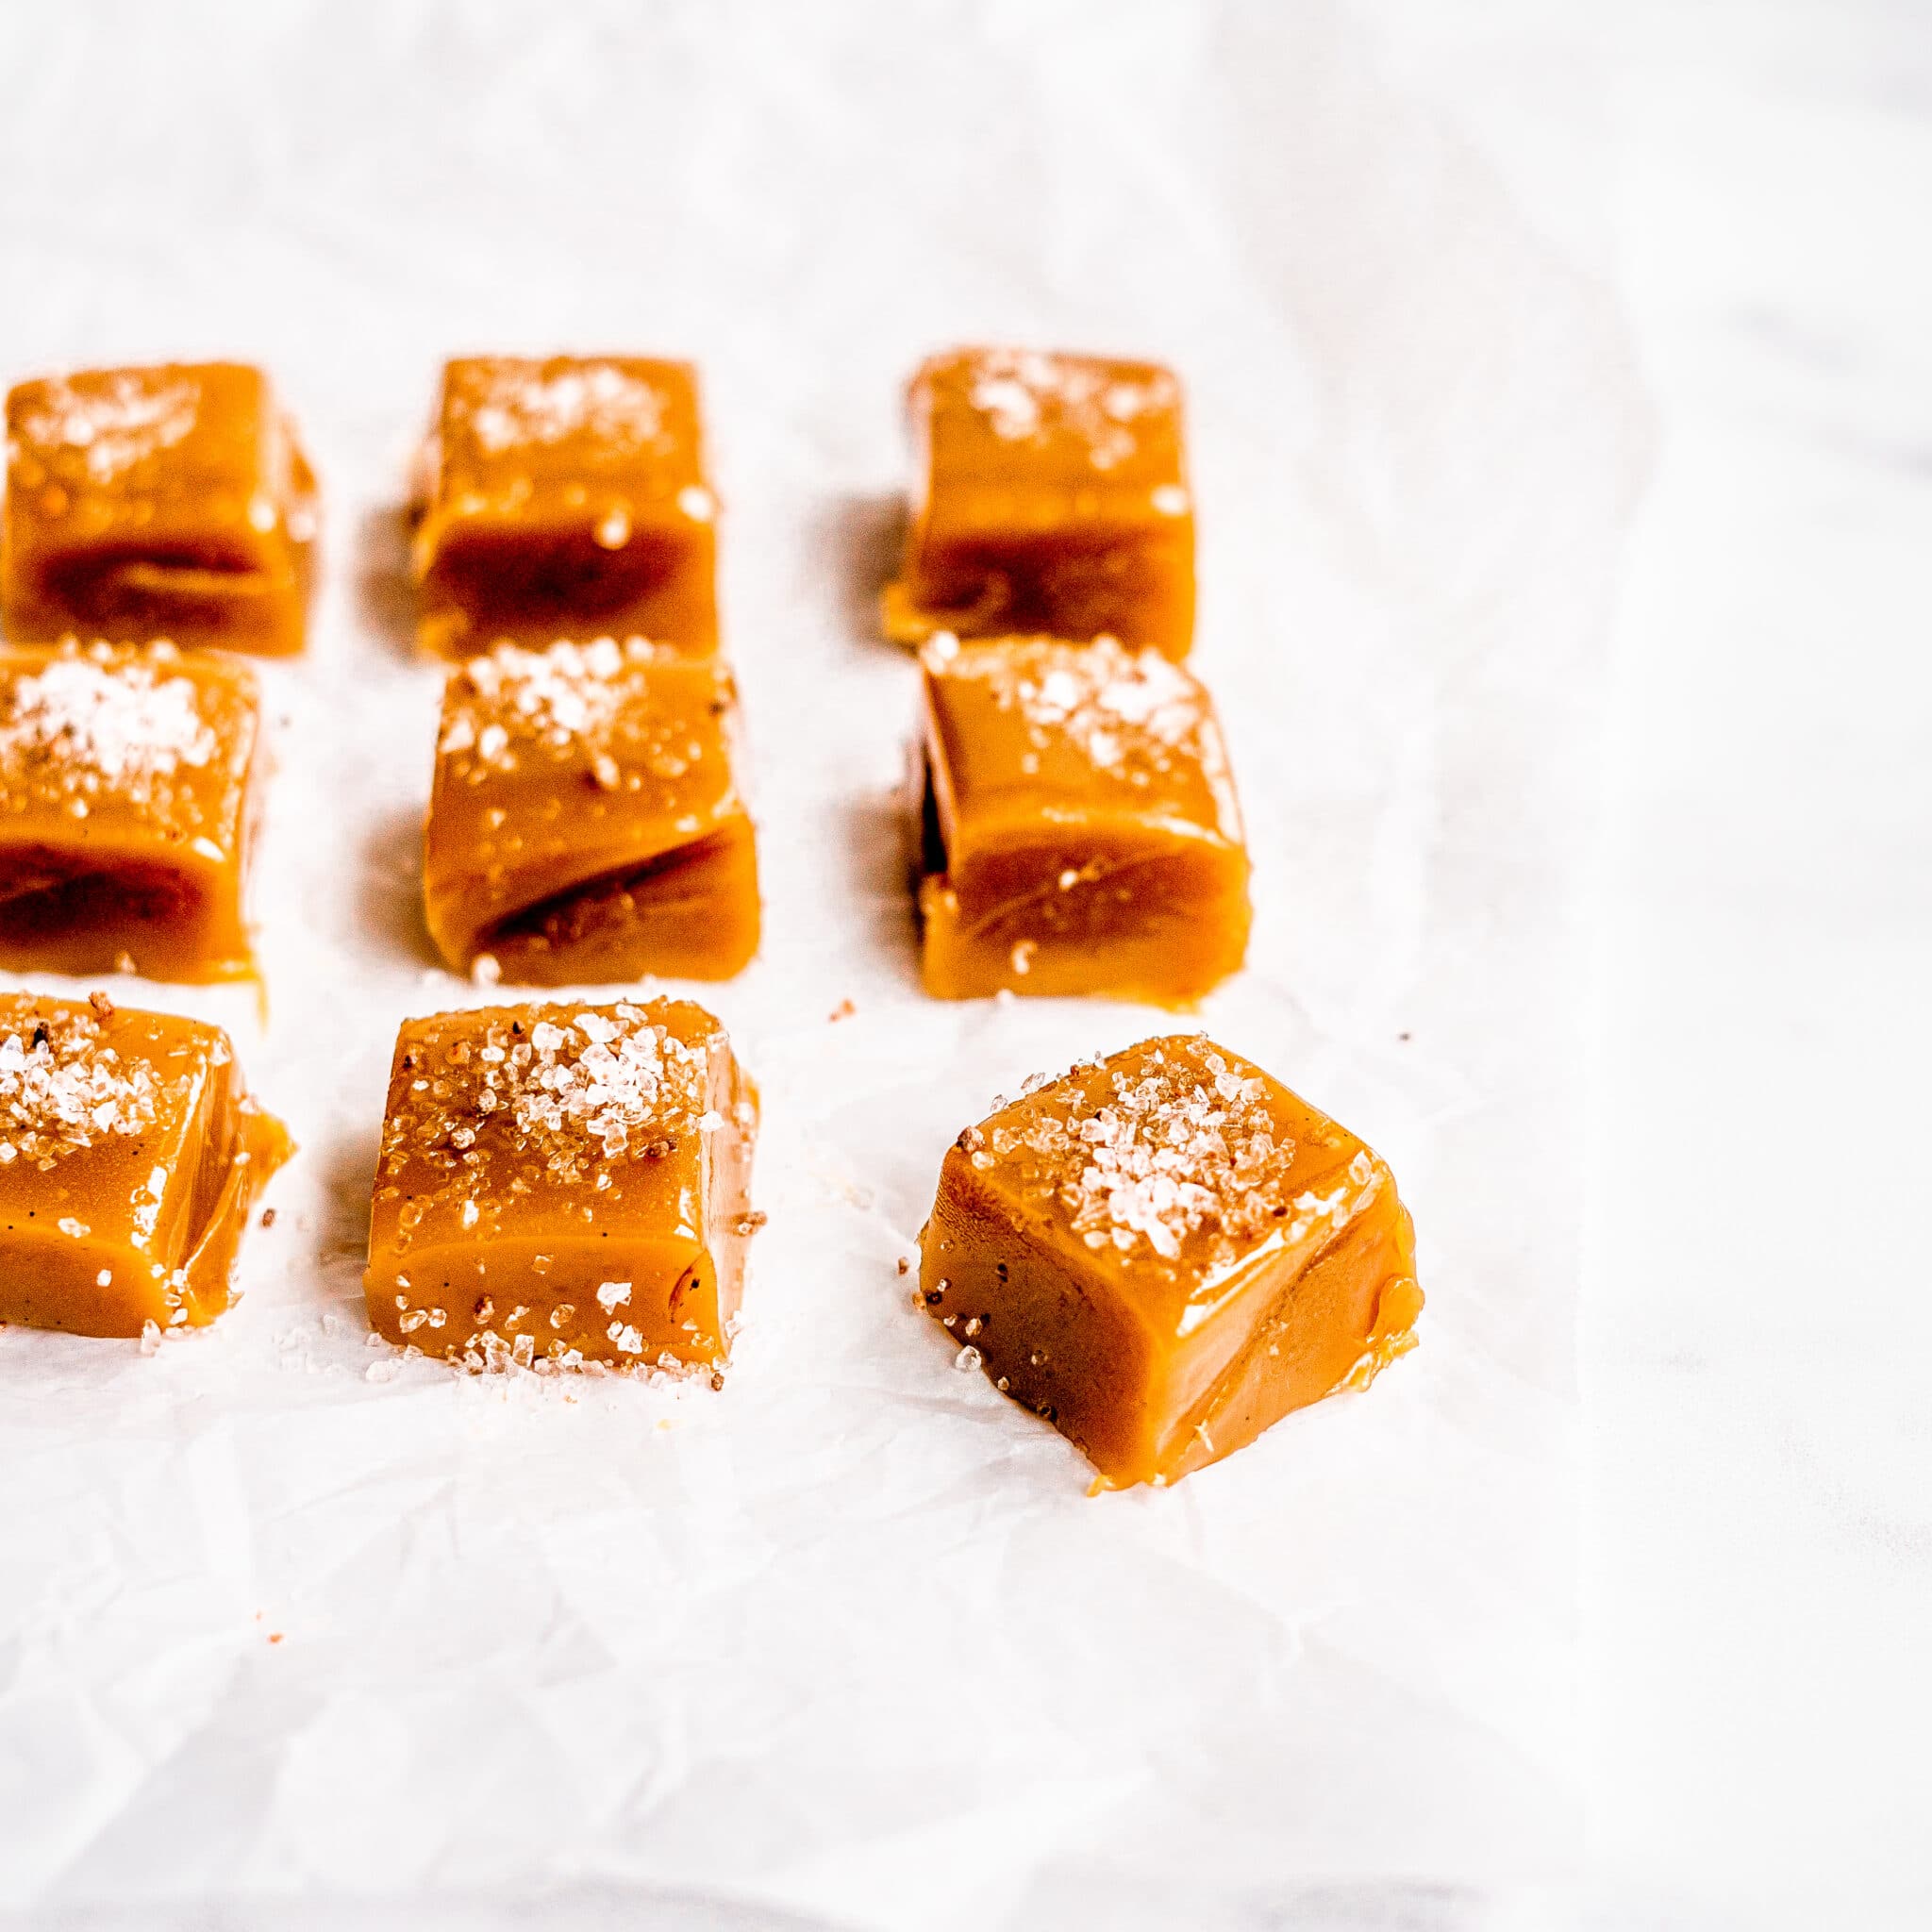
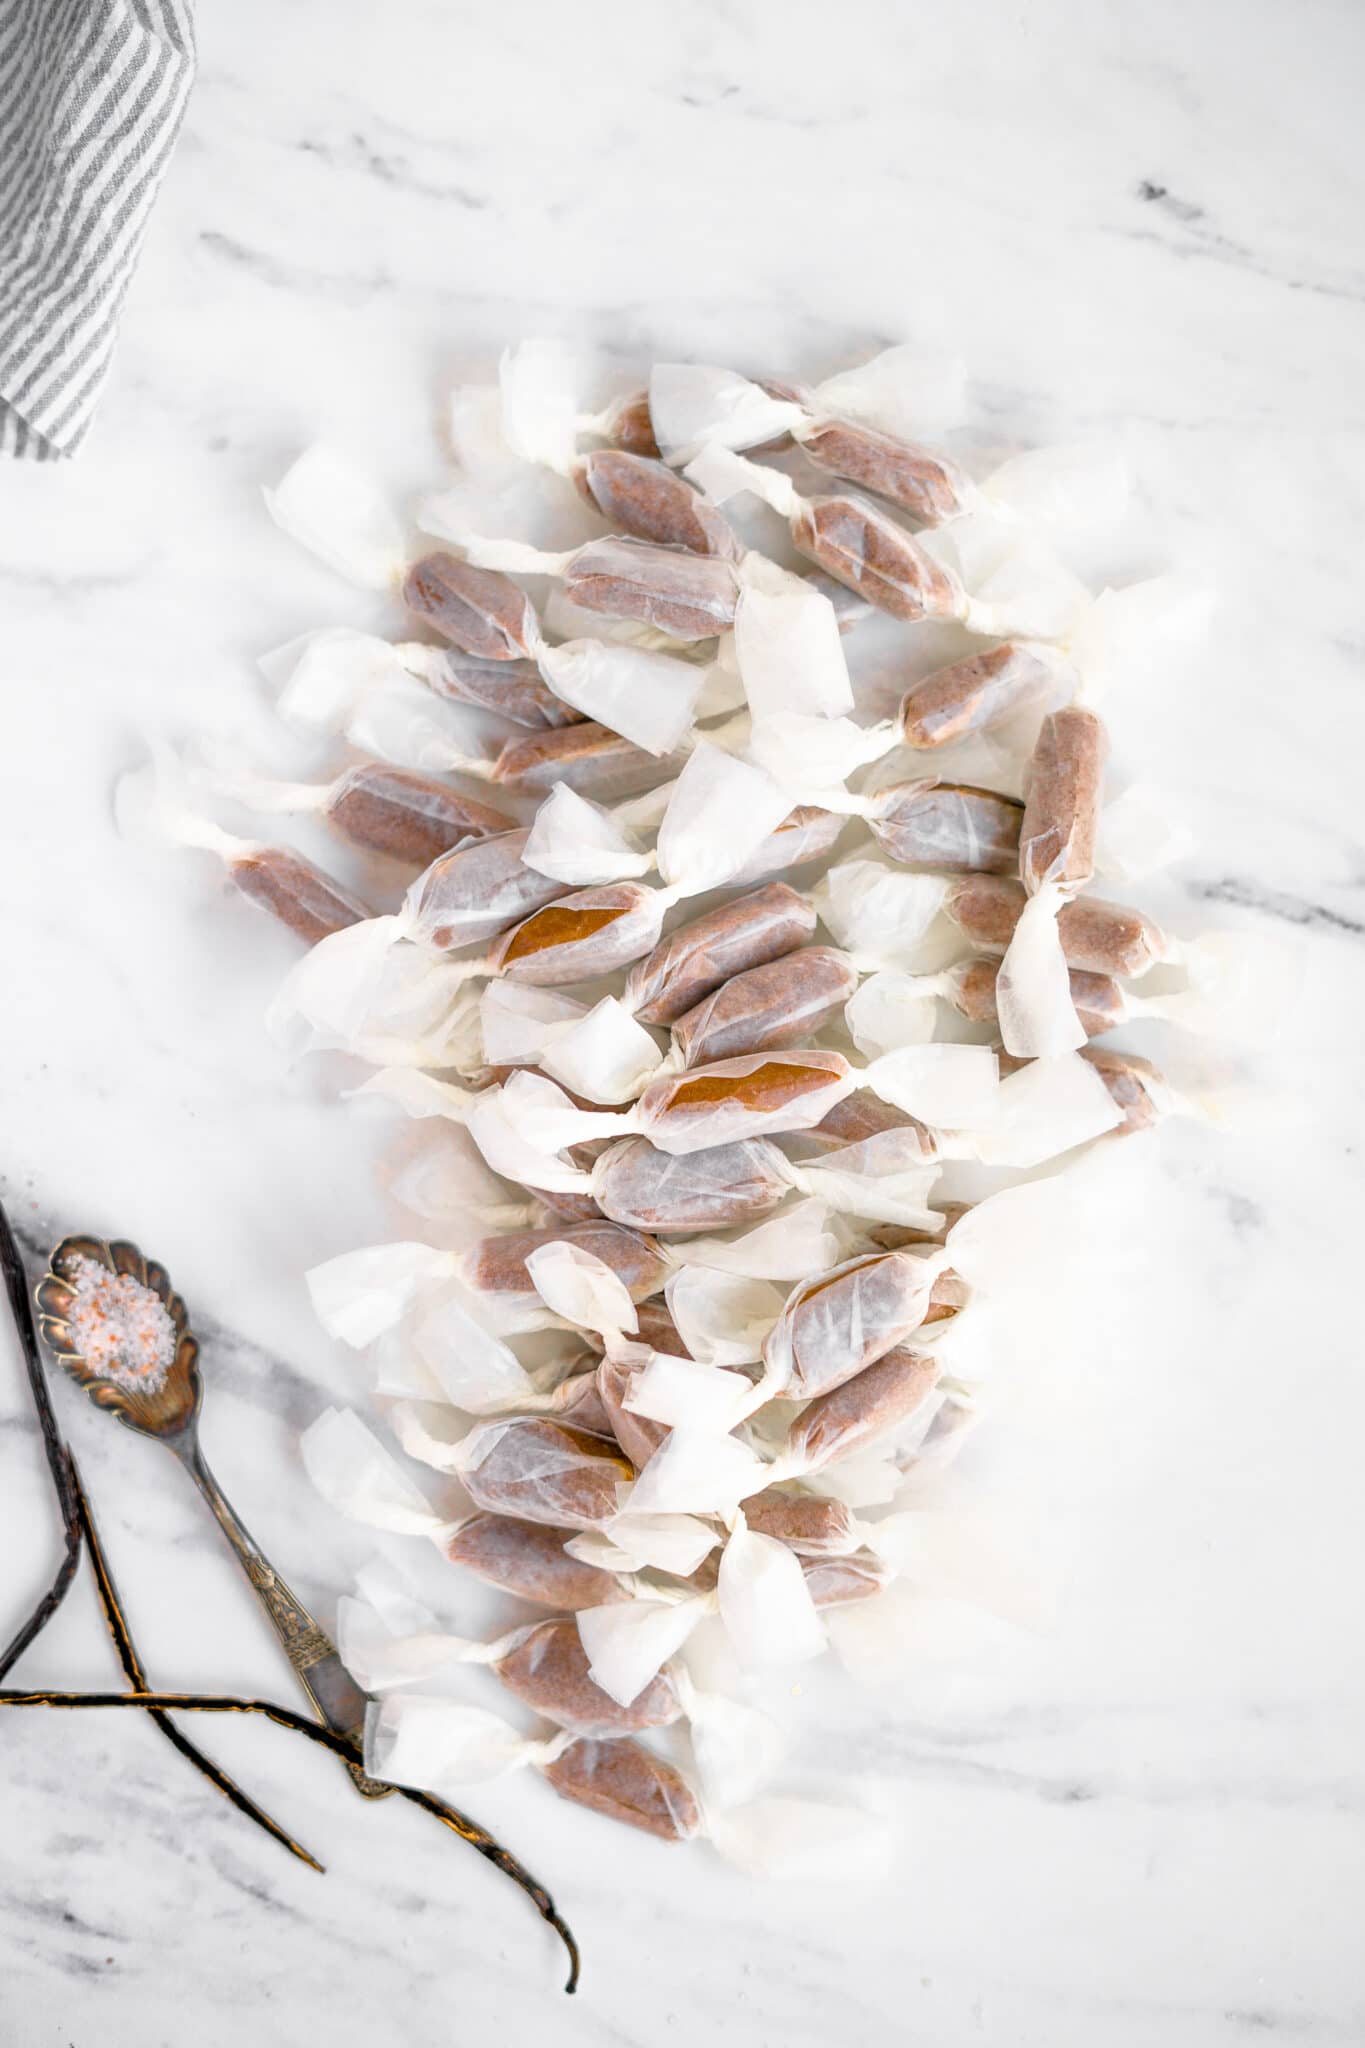
These soft, gooey caramels made from a mixture of salted butter, brown sugar, sweetened condensed milk, and corn syrup are delightful. The caramels are like none other! To take them further over the top, they are sprinkled with a generous dose of coarse pink Himalayan salt for a crunchy bite, which is lovely in contrast to their soft texture. The flavor is addictive! Wrap them in wax-coated candy wrappers for a beautiful gift. Your friends and family will beg you to make them year after year.
- Medium
- 80 mins
- 200 servings

Ingredients
- 1 lb. salted butter
- 2 lb. dark brown sugar
- 2 - 14 oz cans sweetened condensed milk
- 1 - 16 oz bottle white corn syrup
- 2 tsp pink Himalayan Salt
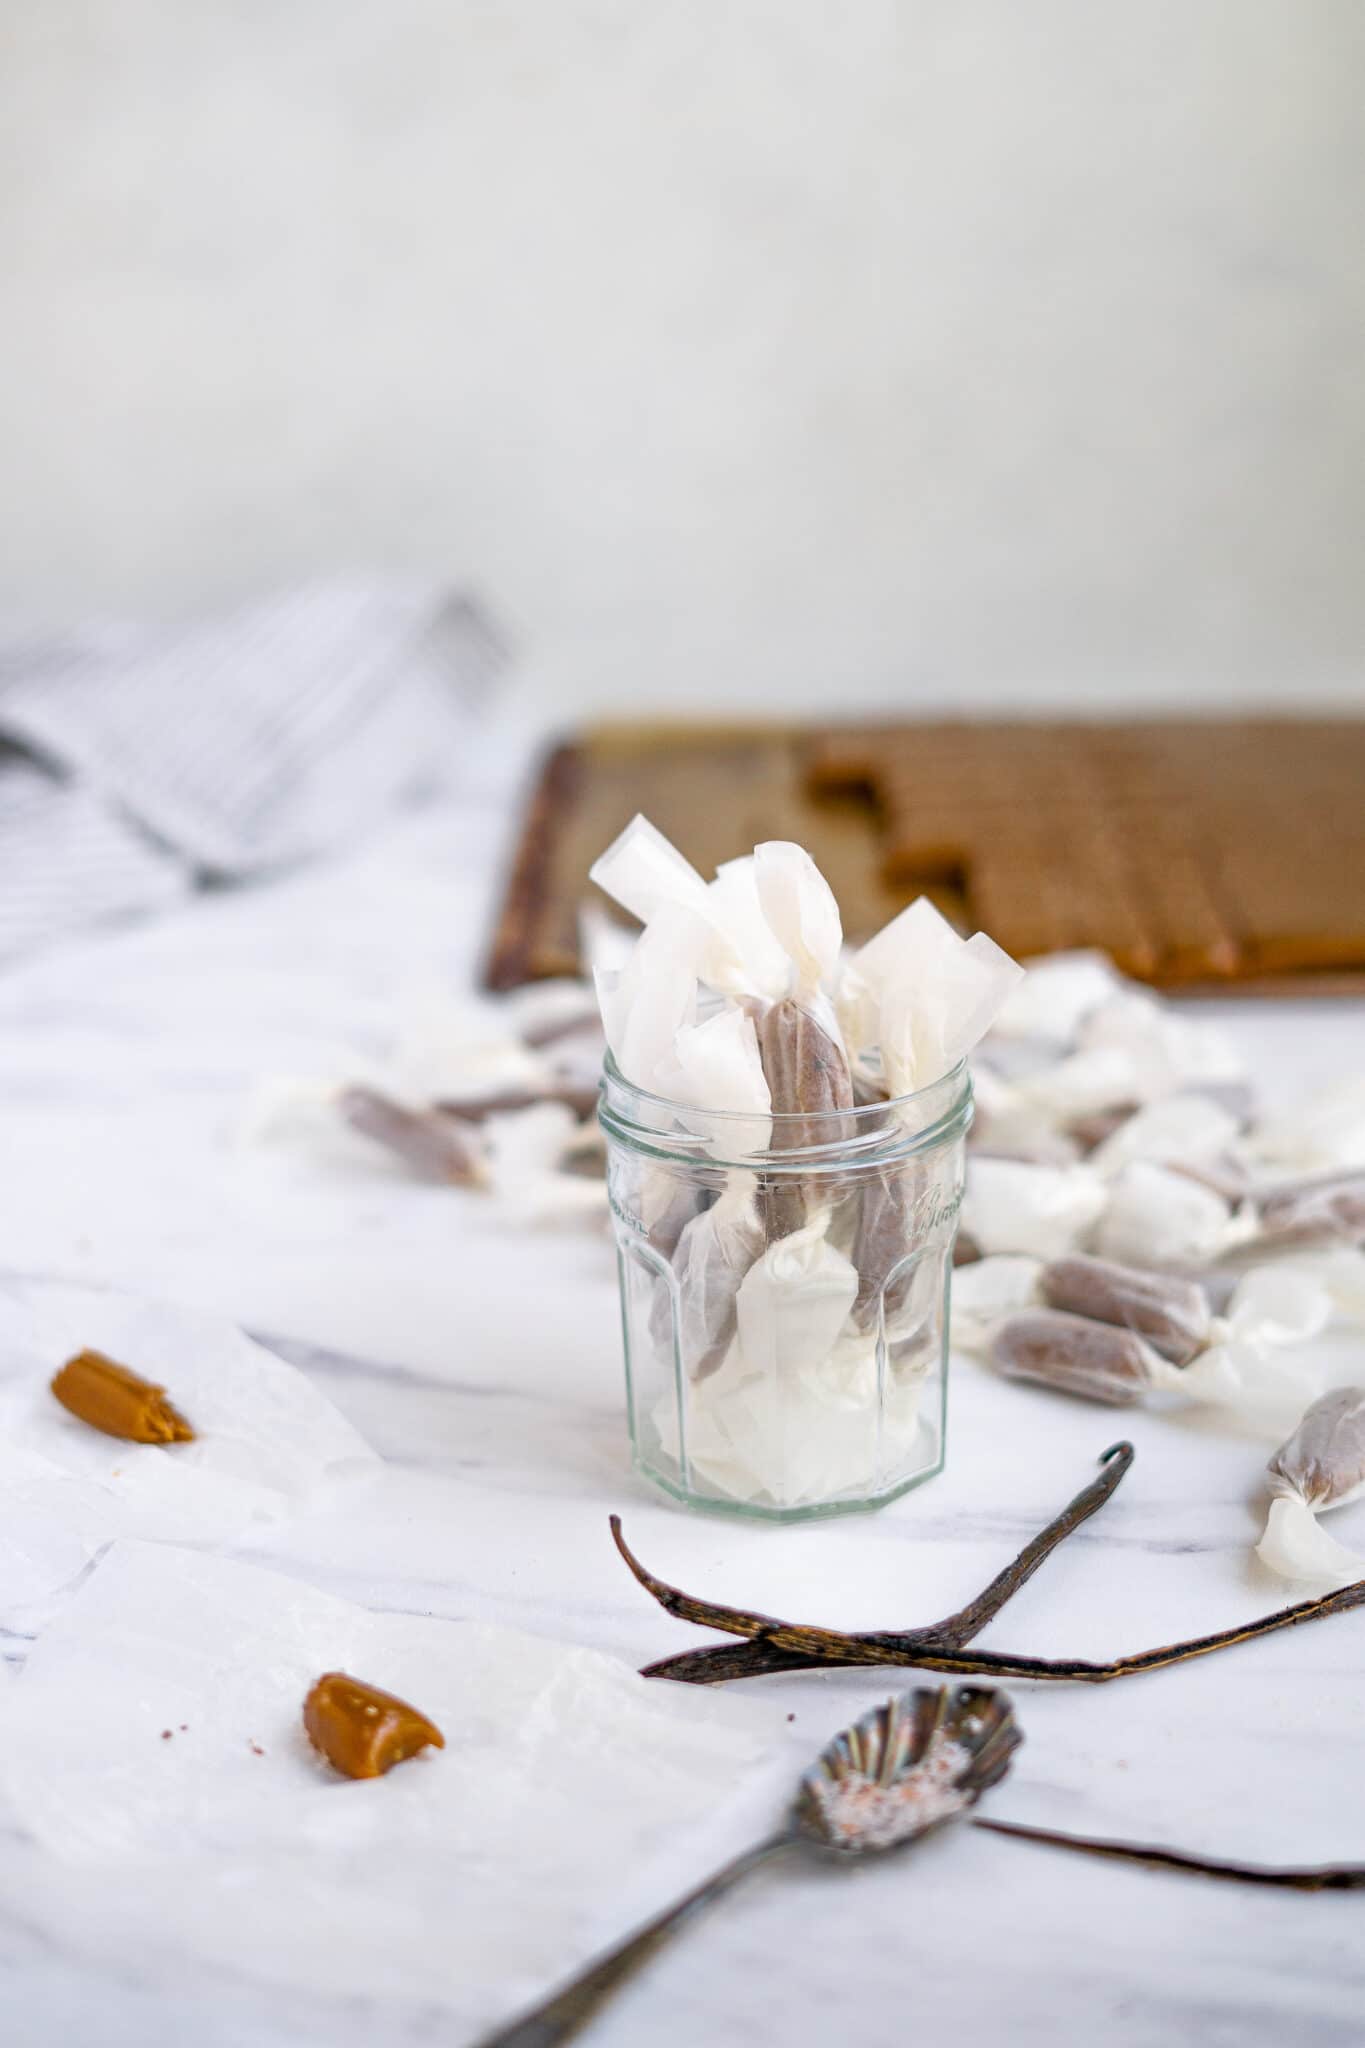
- 2 Rodelle Gourmet vanilla beans
- 200 - 6” wax paper squares
Uses
Occasions
Directions
- Prepare a rimmed baking sheet with parchment paper, spray the sheet and paper well with nonstick cooking spray.
- To make the caramels, melt the butter in a Dutch oven over medium-high heat until completely melted before adding any other ingredients. Use a wooden spoon to stir the butter to melt it evenly. While the butter is melting, scrape the seeds from the vanilla bean pods and set them aside in a small bowl.
- Add the brown sugar and stir to remove as many lumps as possible.
- Add the sweetened condensed milk and corn syrup, turn the heat to medium-high and stir with the spoon. Place a candy thermometer onto the side of the Dutch oven. At this point, continue to stir constantly, making sure to stir the edges and the middle consistently. Keep the heat on medium-high as you want the caramels to cook as fast as possible. The mixture will begin to boil vigorously, so keep stirring very well.
- Once the temperature reaches 240 F, add the vanilla bean seeds and continue to stir well until the caramels’ temperature reaches 244 F.
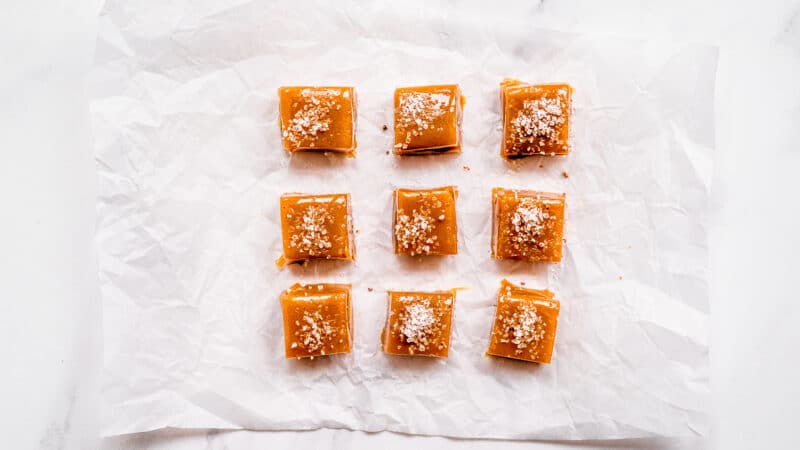
- Immediately pour the hot caramel onto the prepared baking sheet. Do not overly scrape excess caramel at the bottom of the pot as it tends to reach a higher temperature and, therefore, will be hard in texture. Allow the caramels to cool for 3 minutes, so the surface cools and becomes tacky. Sprinkle the sea salt evenly over the top. Allow caramels to cool at room temperature for several hours or until cool to the touch. Allow them to sit overnight in the fridge covered tightly with plastic wrap.
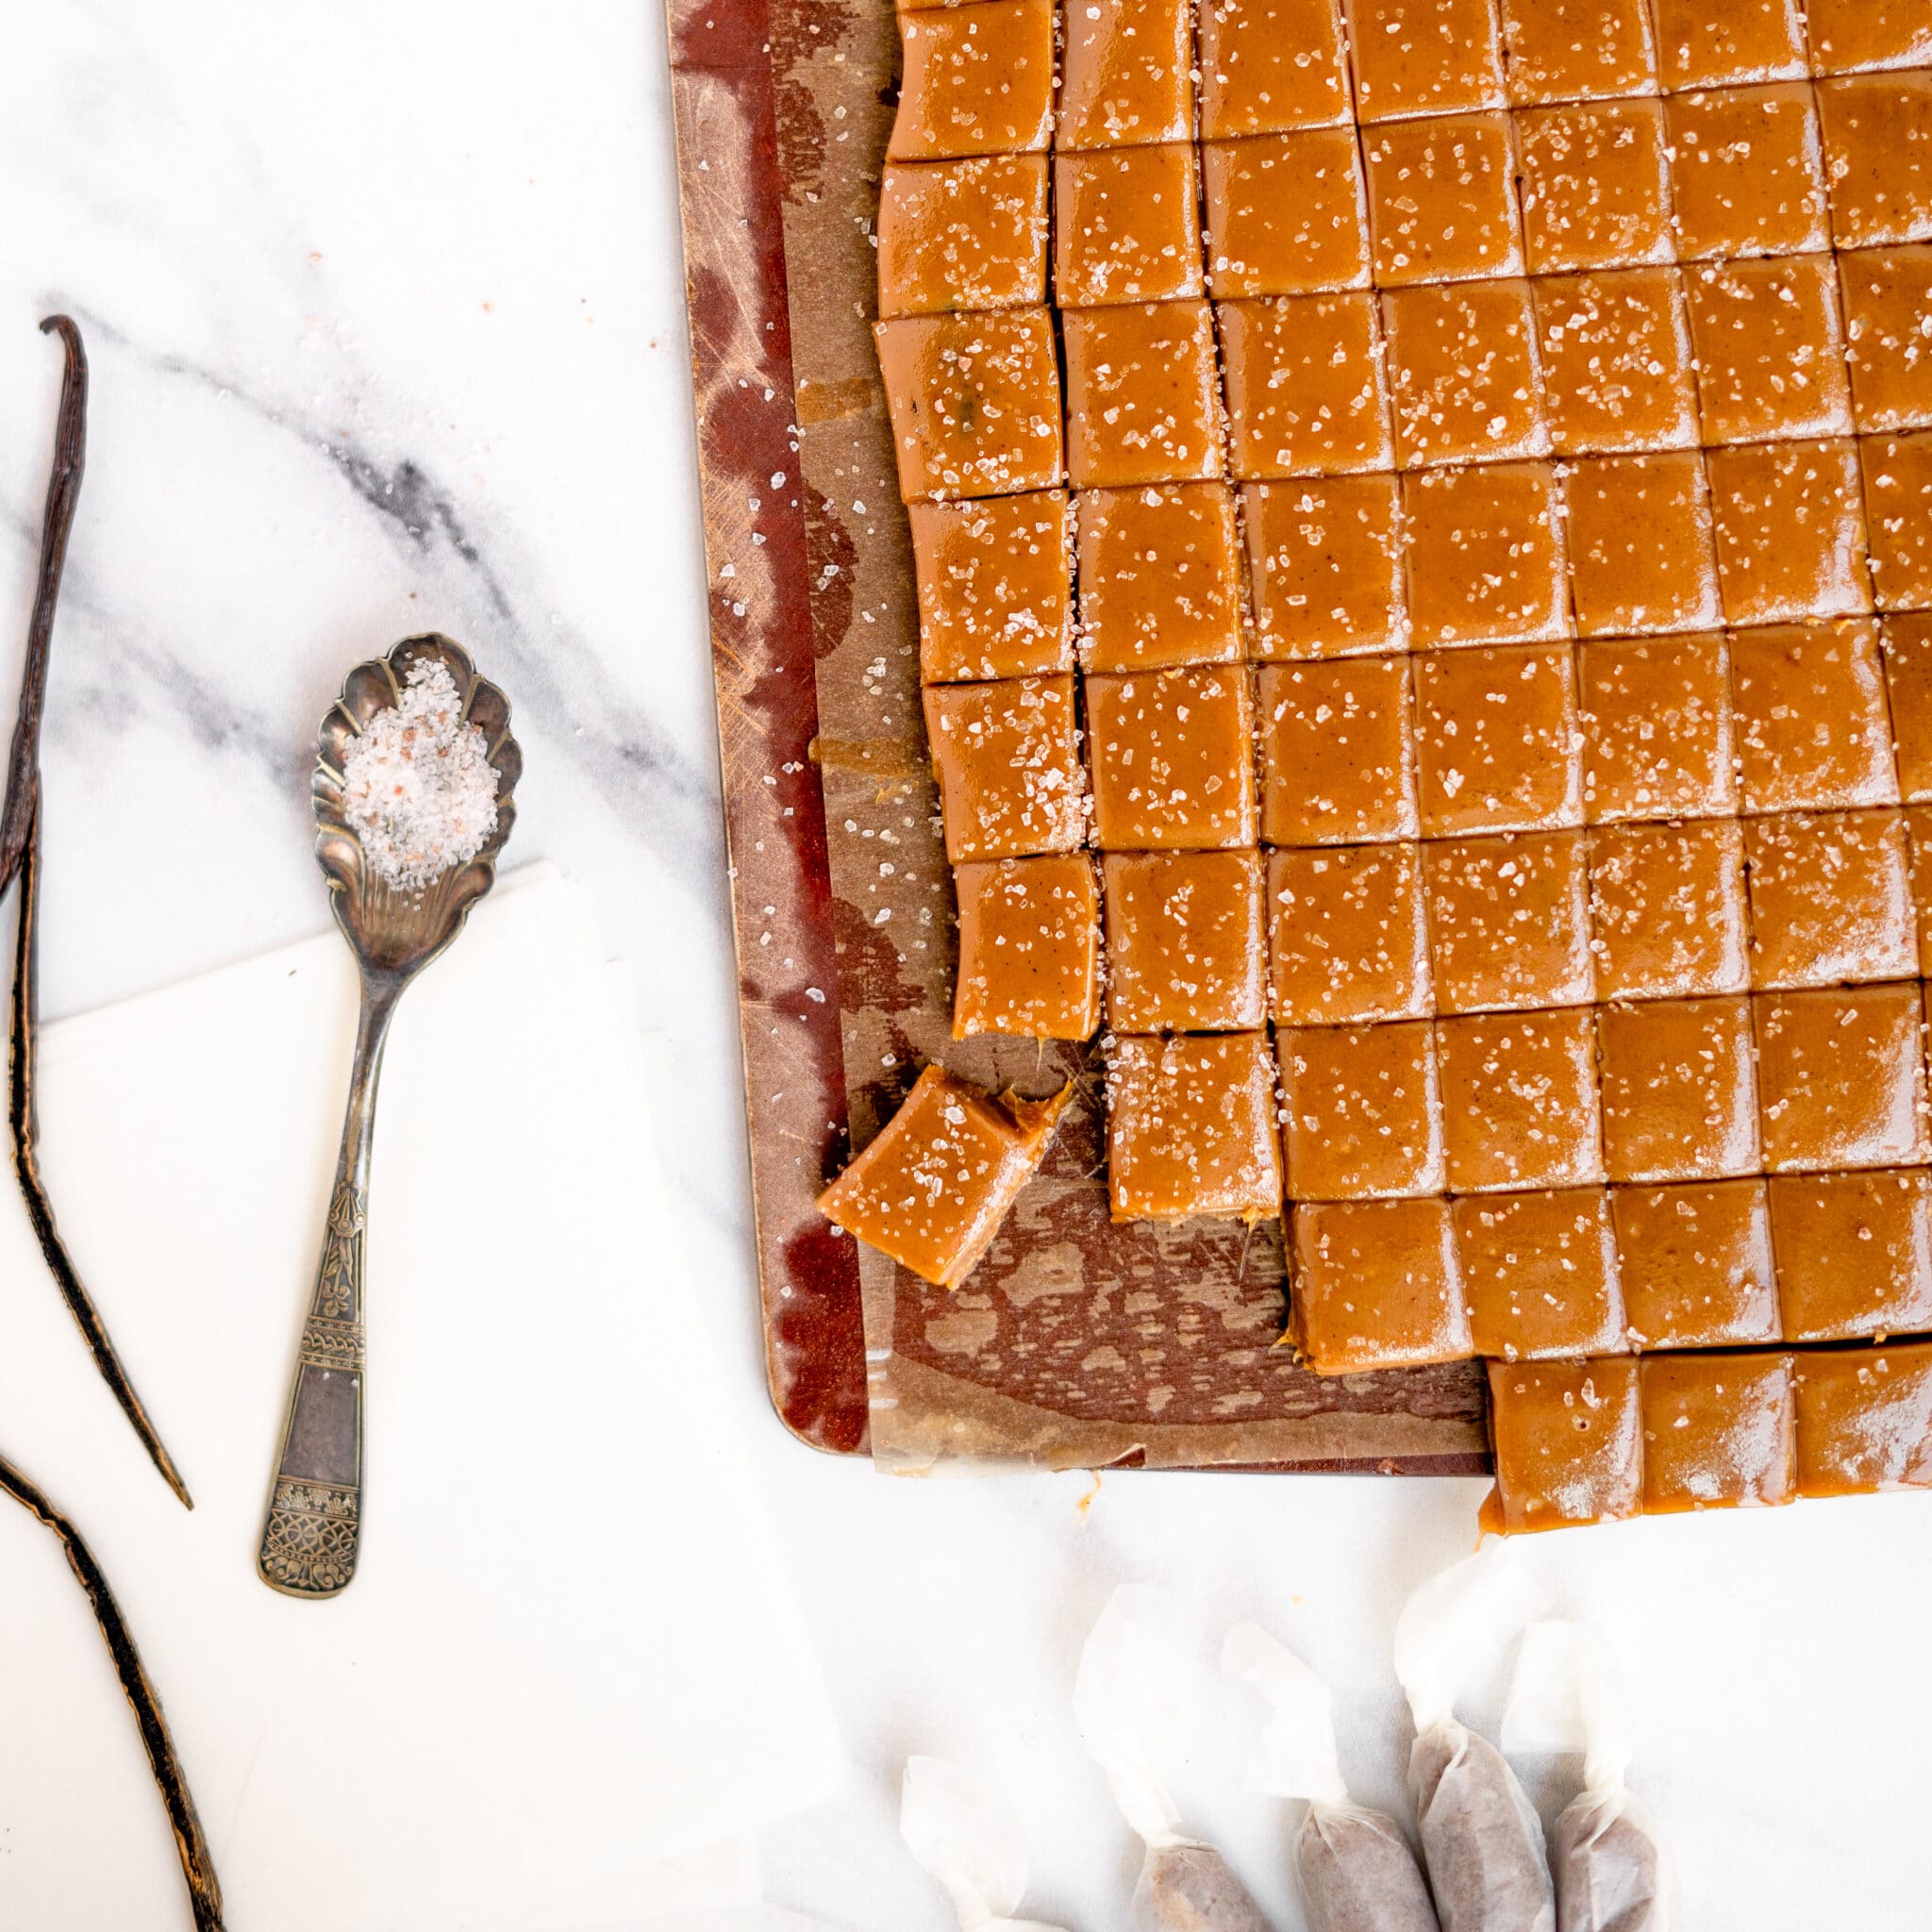
- Lift the caramels out of the baking sheet, and place them onto a large cutting board. Spray the tip of a chef’s knife with nonstick cooking spray. Place the knife’s tip into the caramels and slide the knife through them versus pressing the blade down into the caramels. The knife should slide easily. Cut the caramels into 1 ½” x 1 ½” squares. The batch should yield 200.
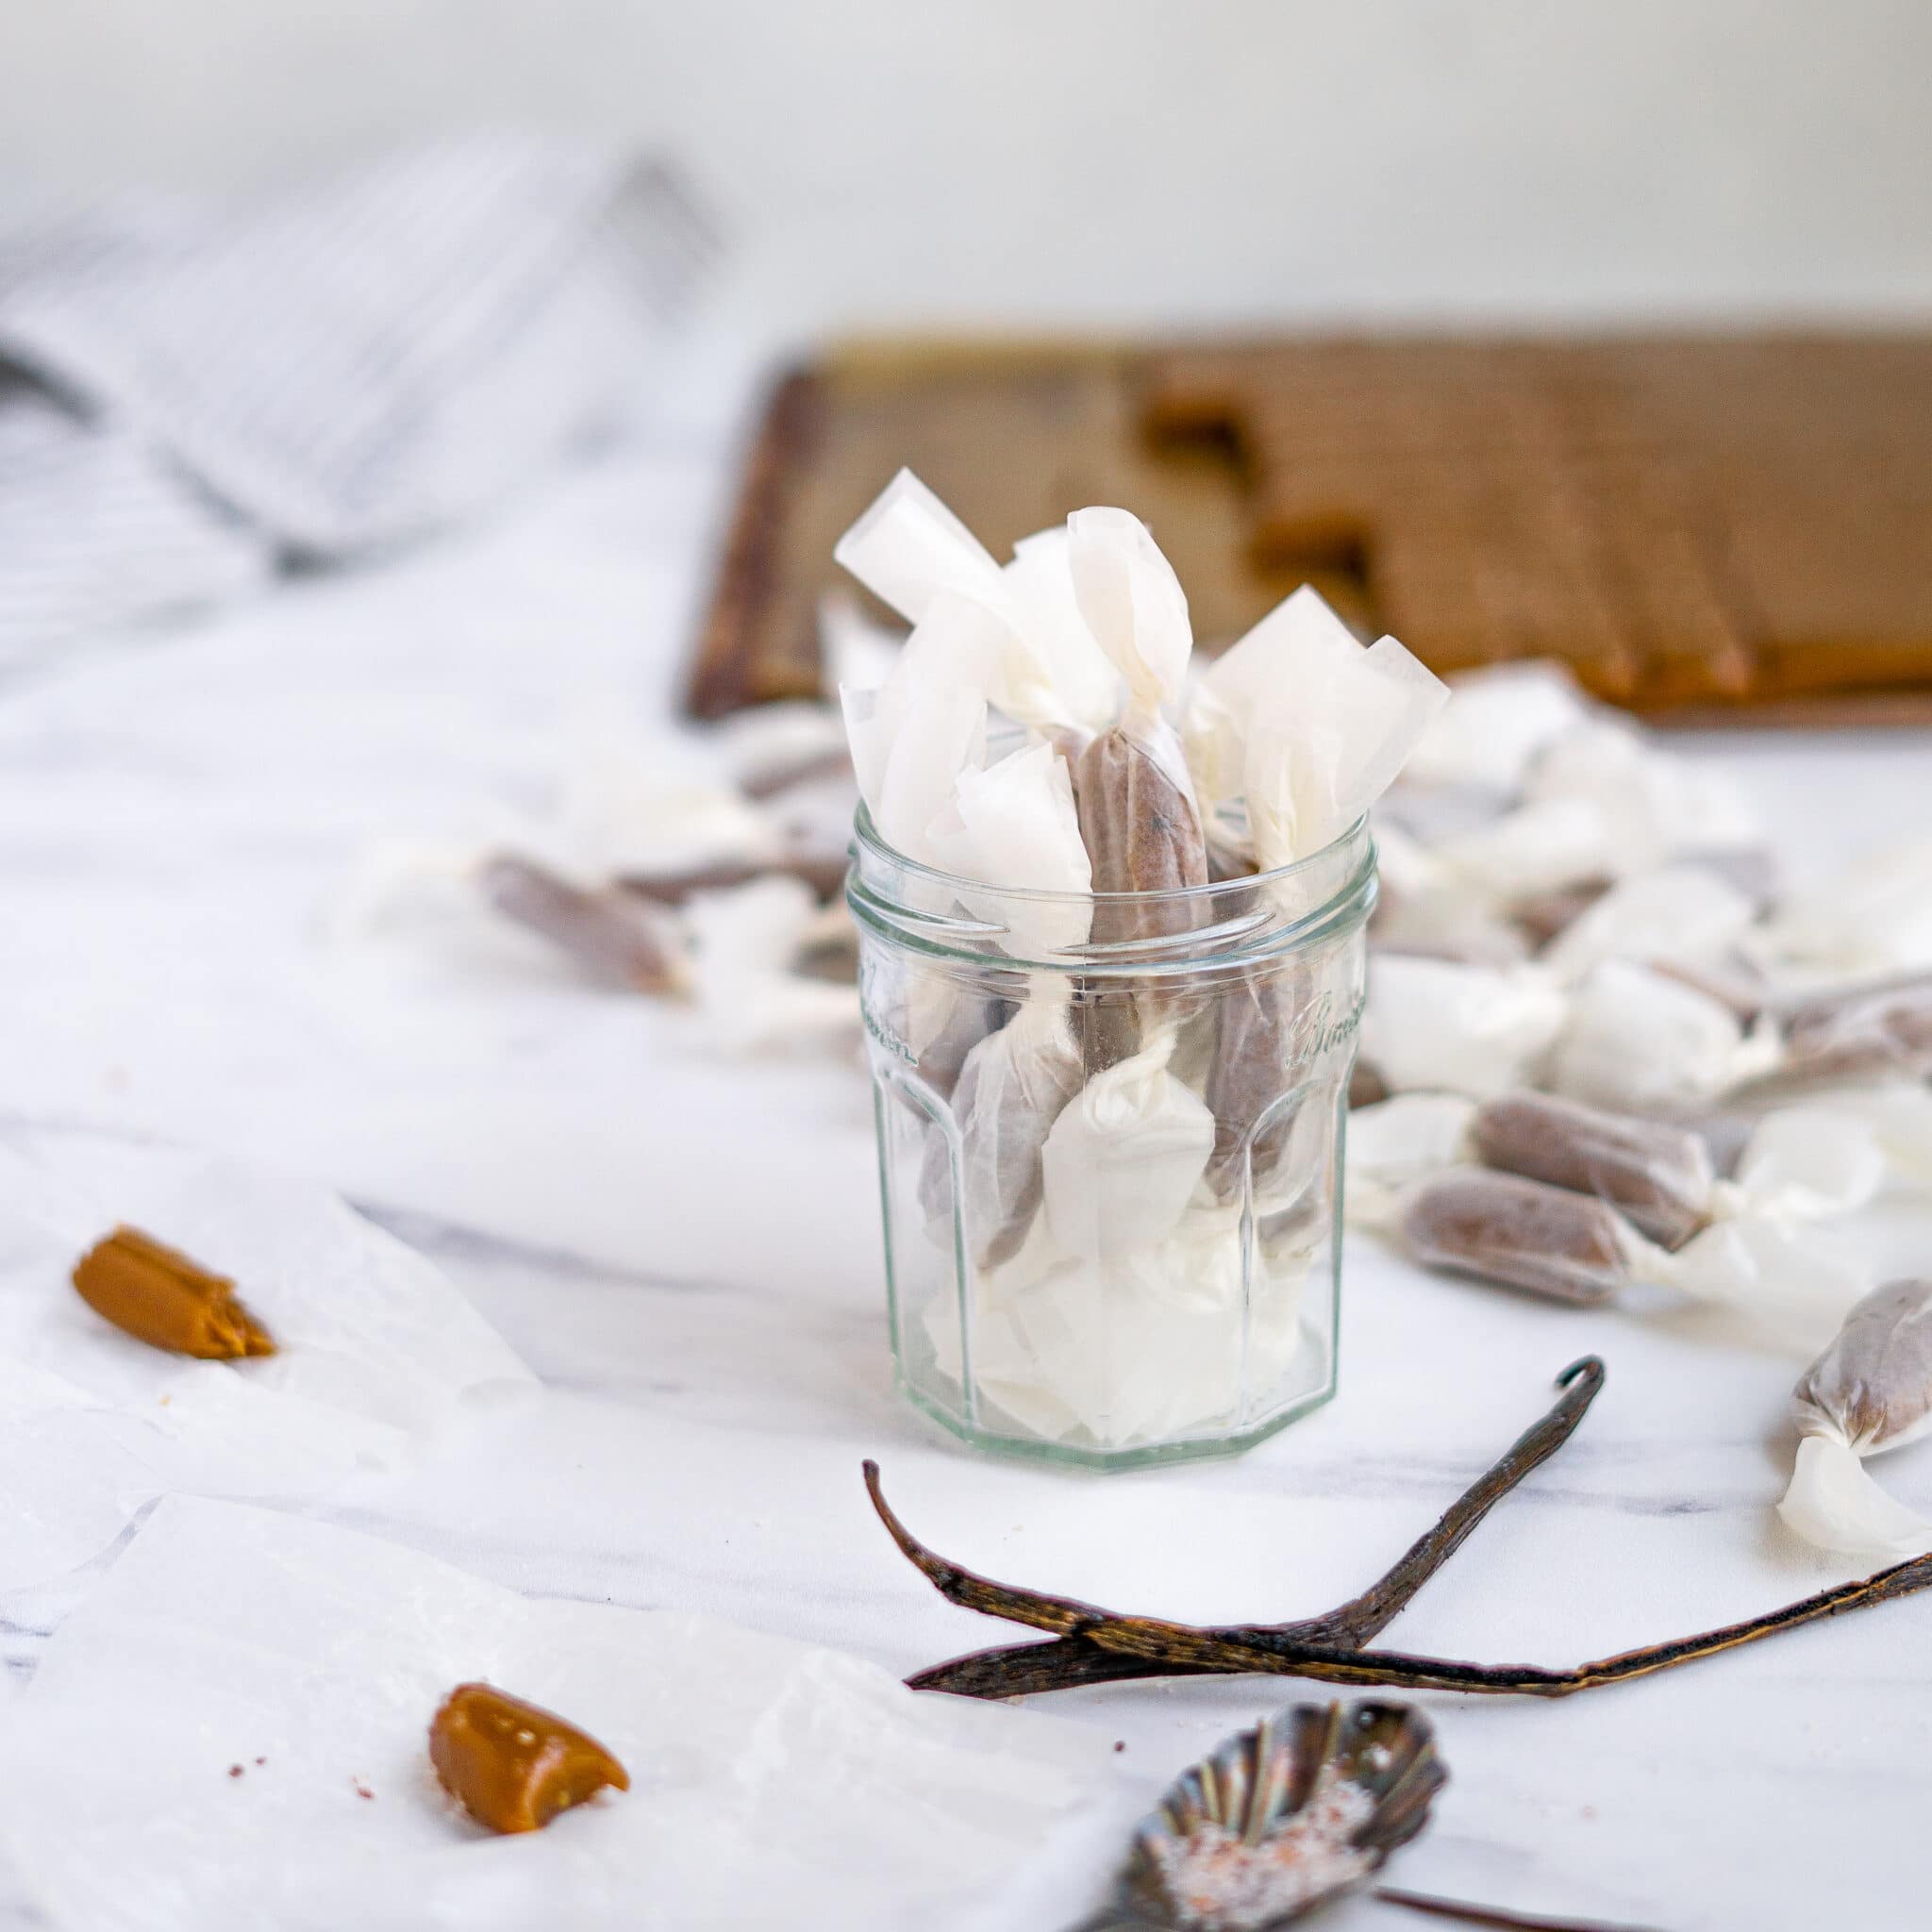
- Wrap the caramels using 6” square wax-coated paper, place one caramel unto the center of each piece of paper. Roll them up and twist the ends tight. The caramels will last a month in the fridge or up to six months in the freezer.
Tips
- While this recipe is easy, it does require special equipment. You will need a 5 or 6-quart Dutch oven, a wooden spoon, and a candy thermometer.
- The 6” wax paper squares are not necessary, but make the job easier. You can purchase them online. Alternatively, you can cut paper squares from wax paper or parchment.