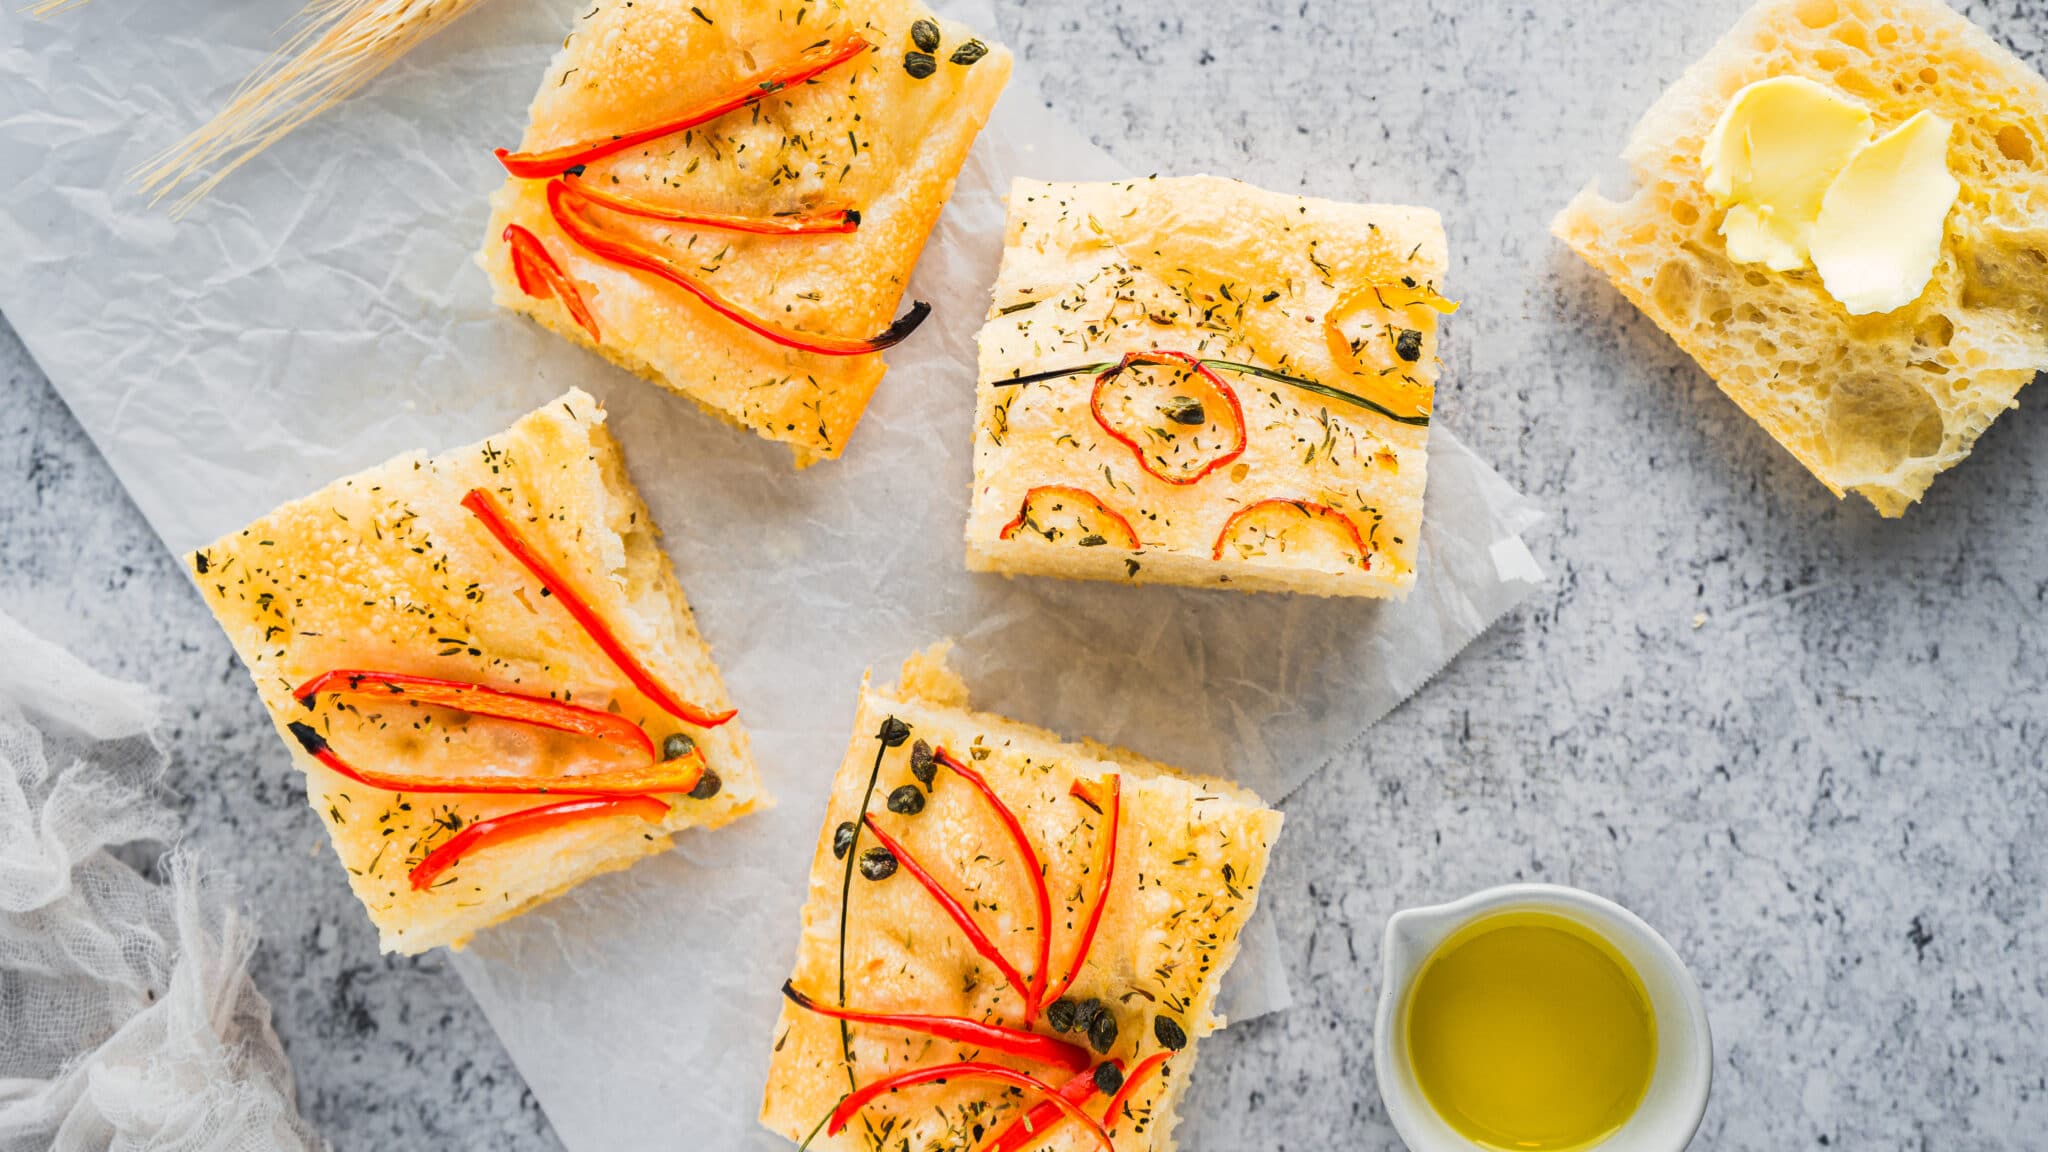
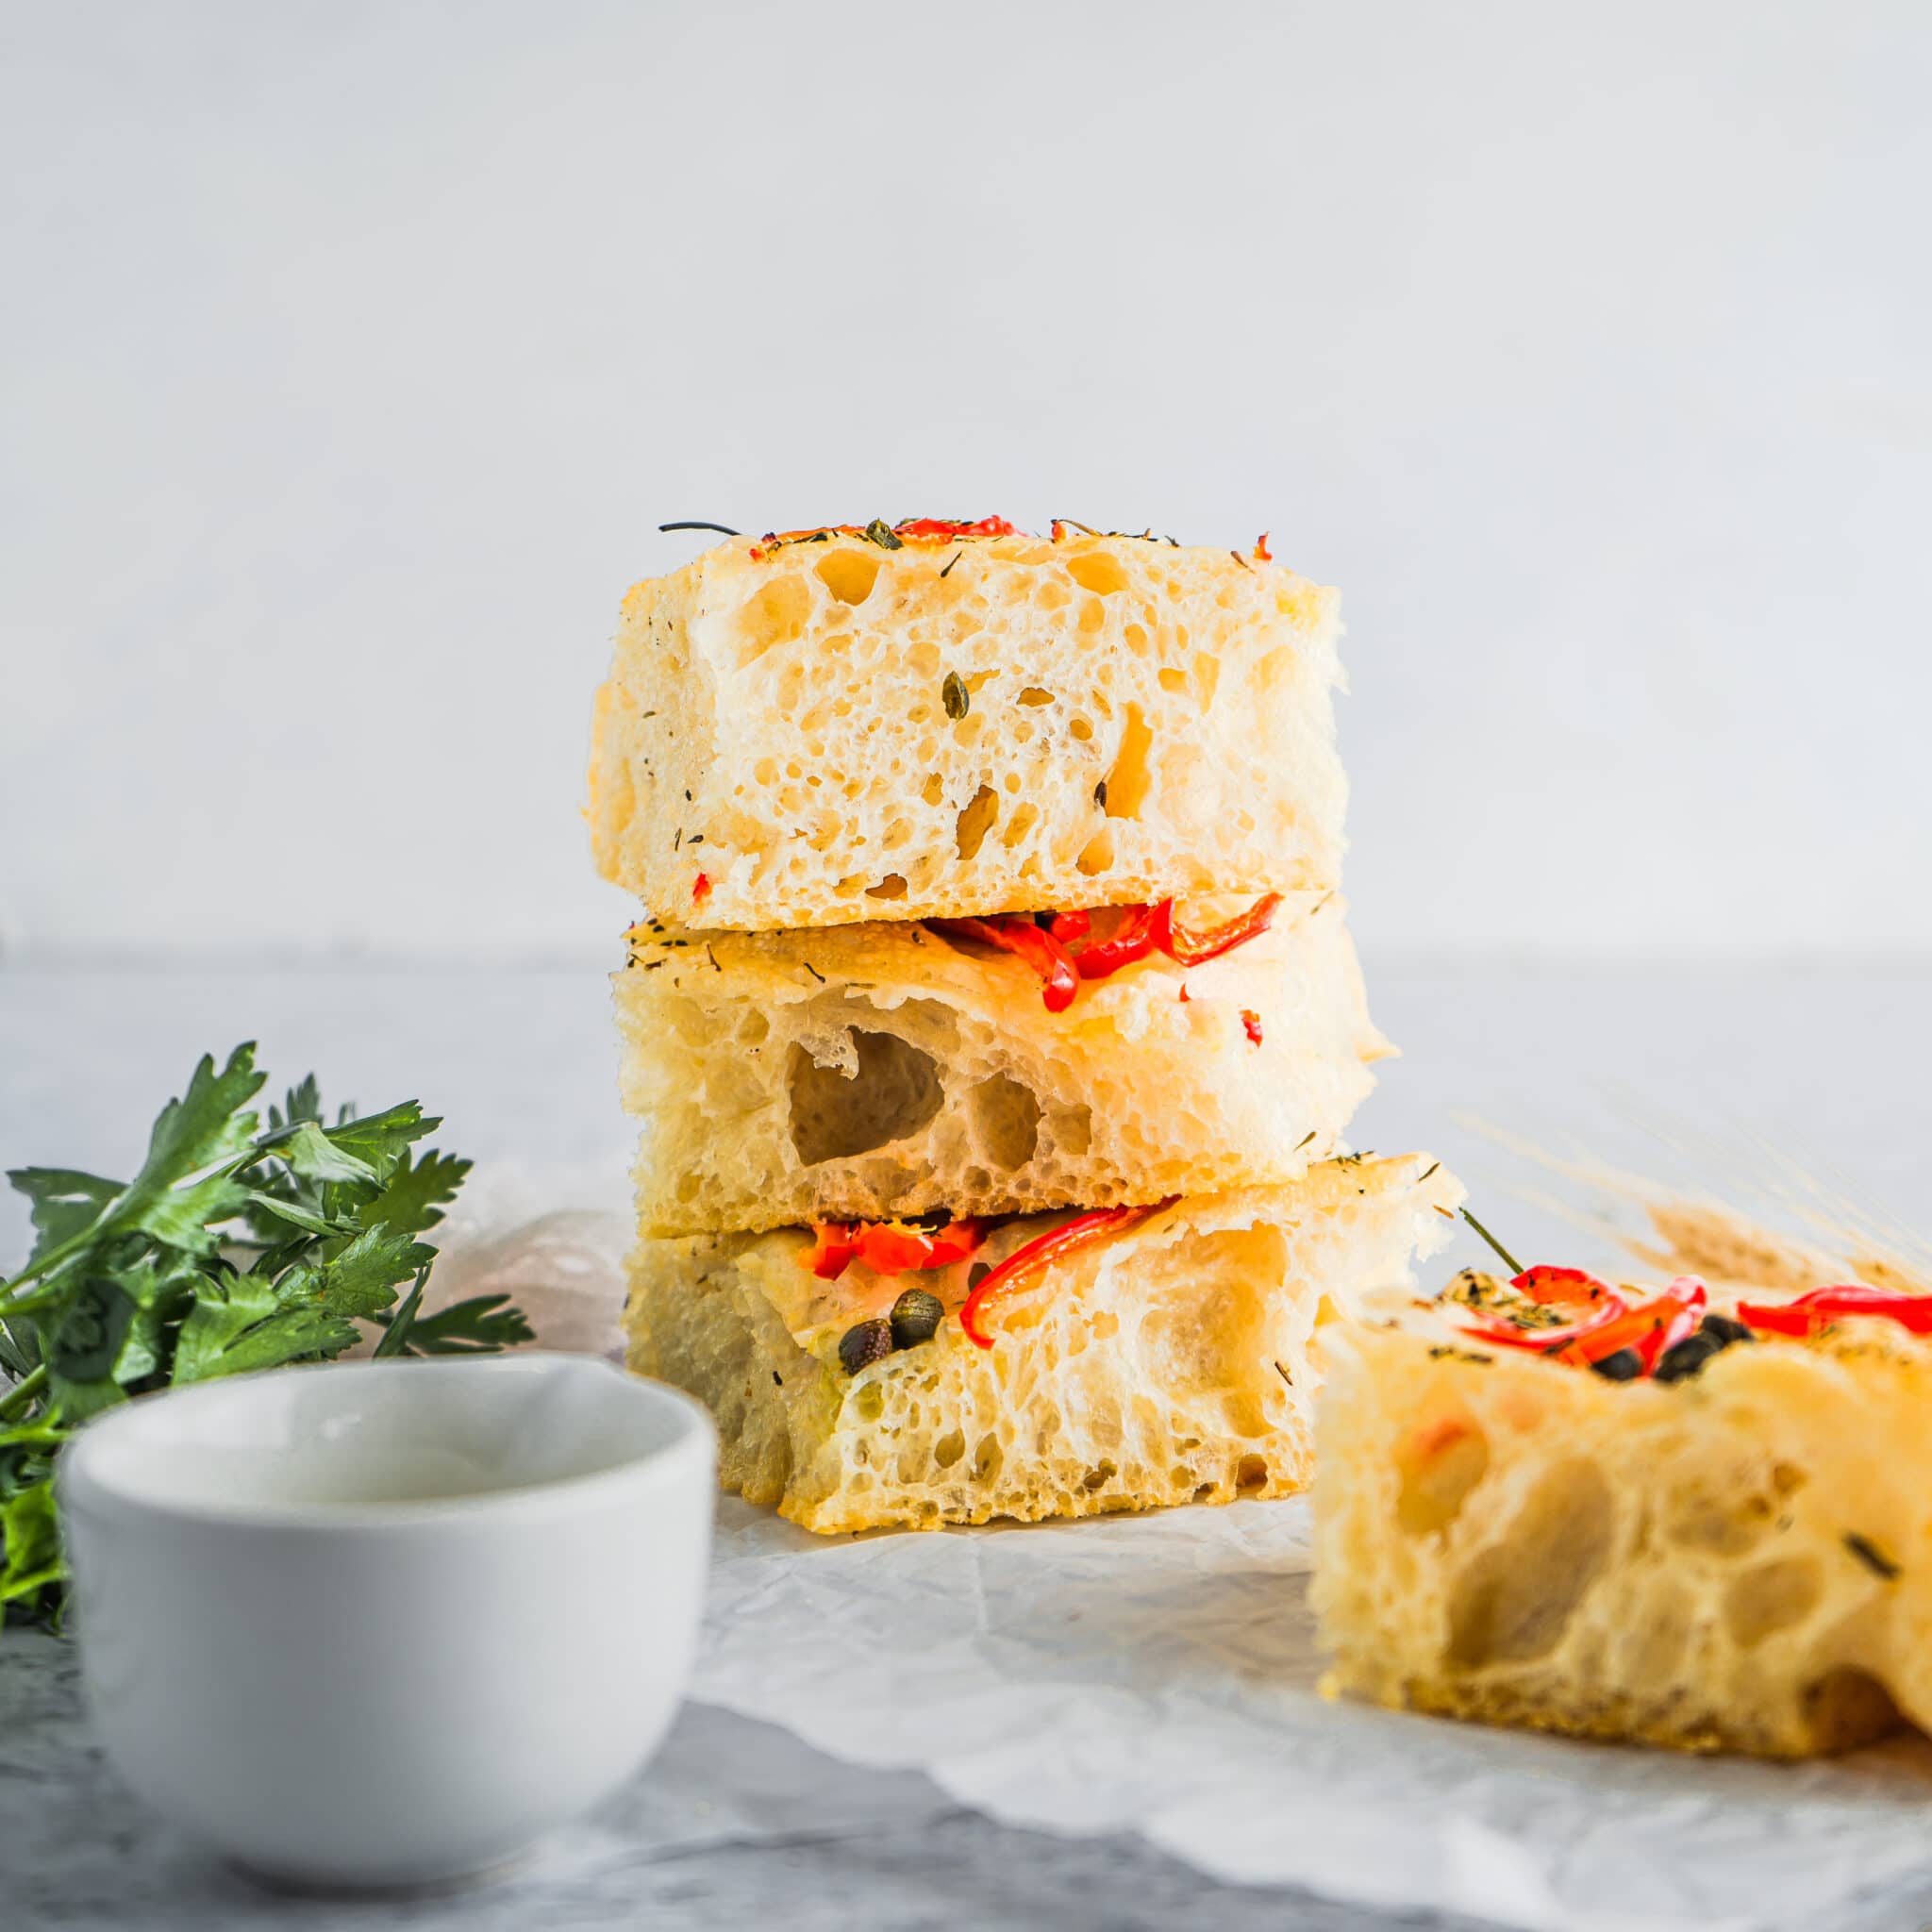
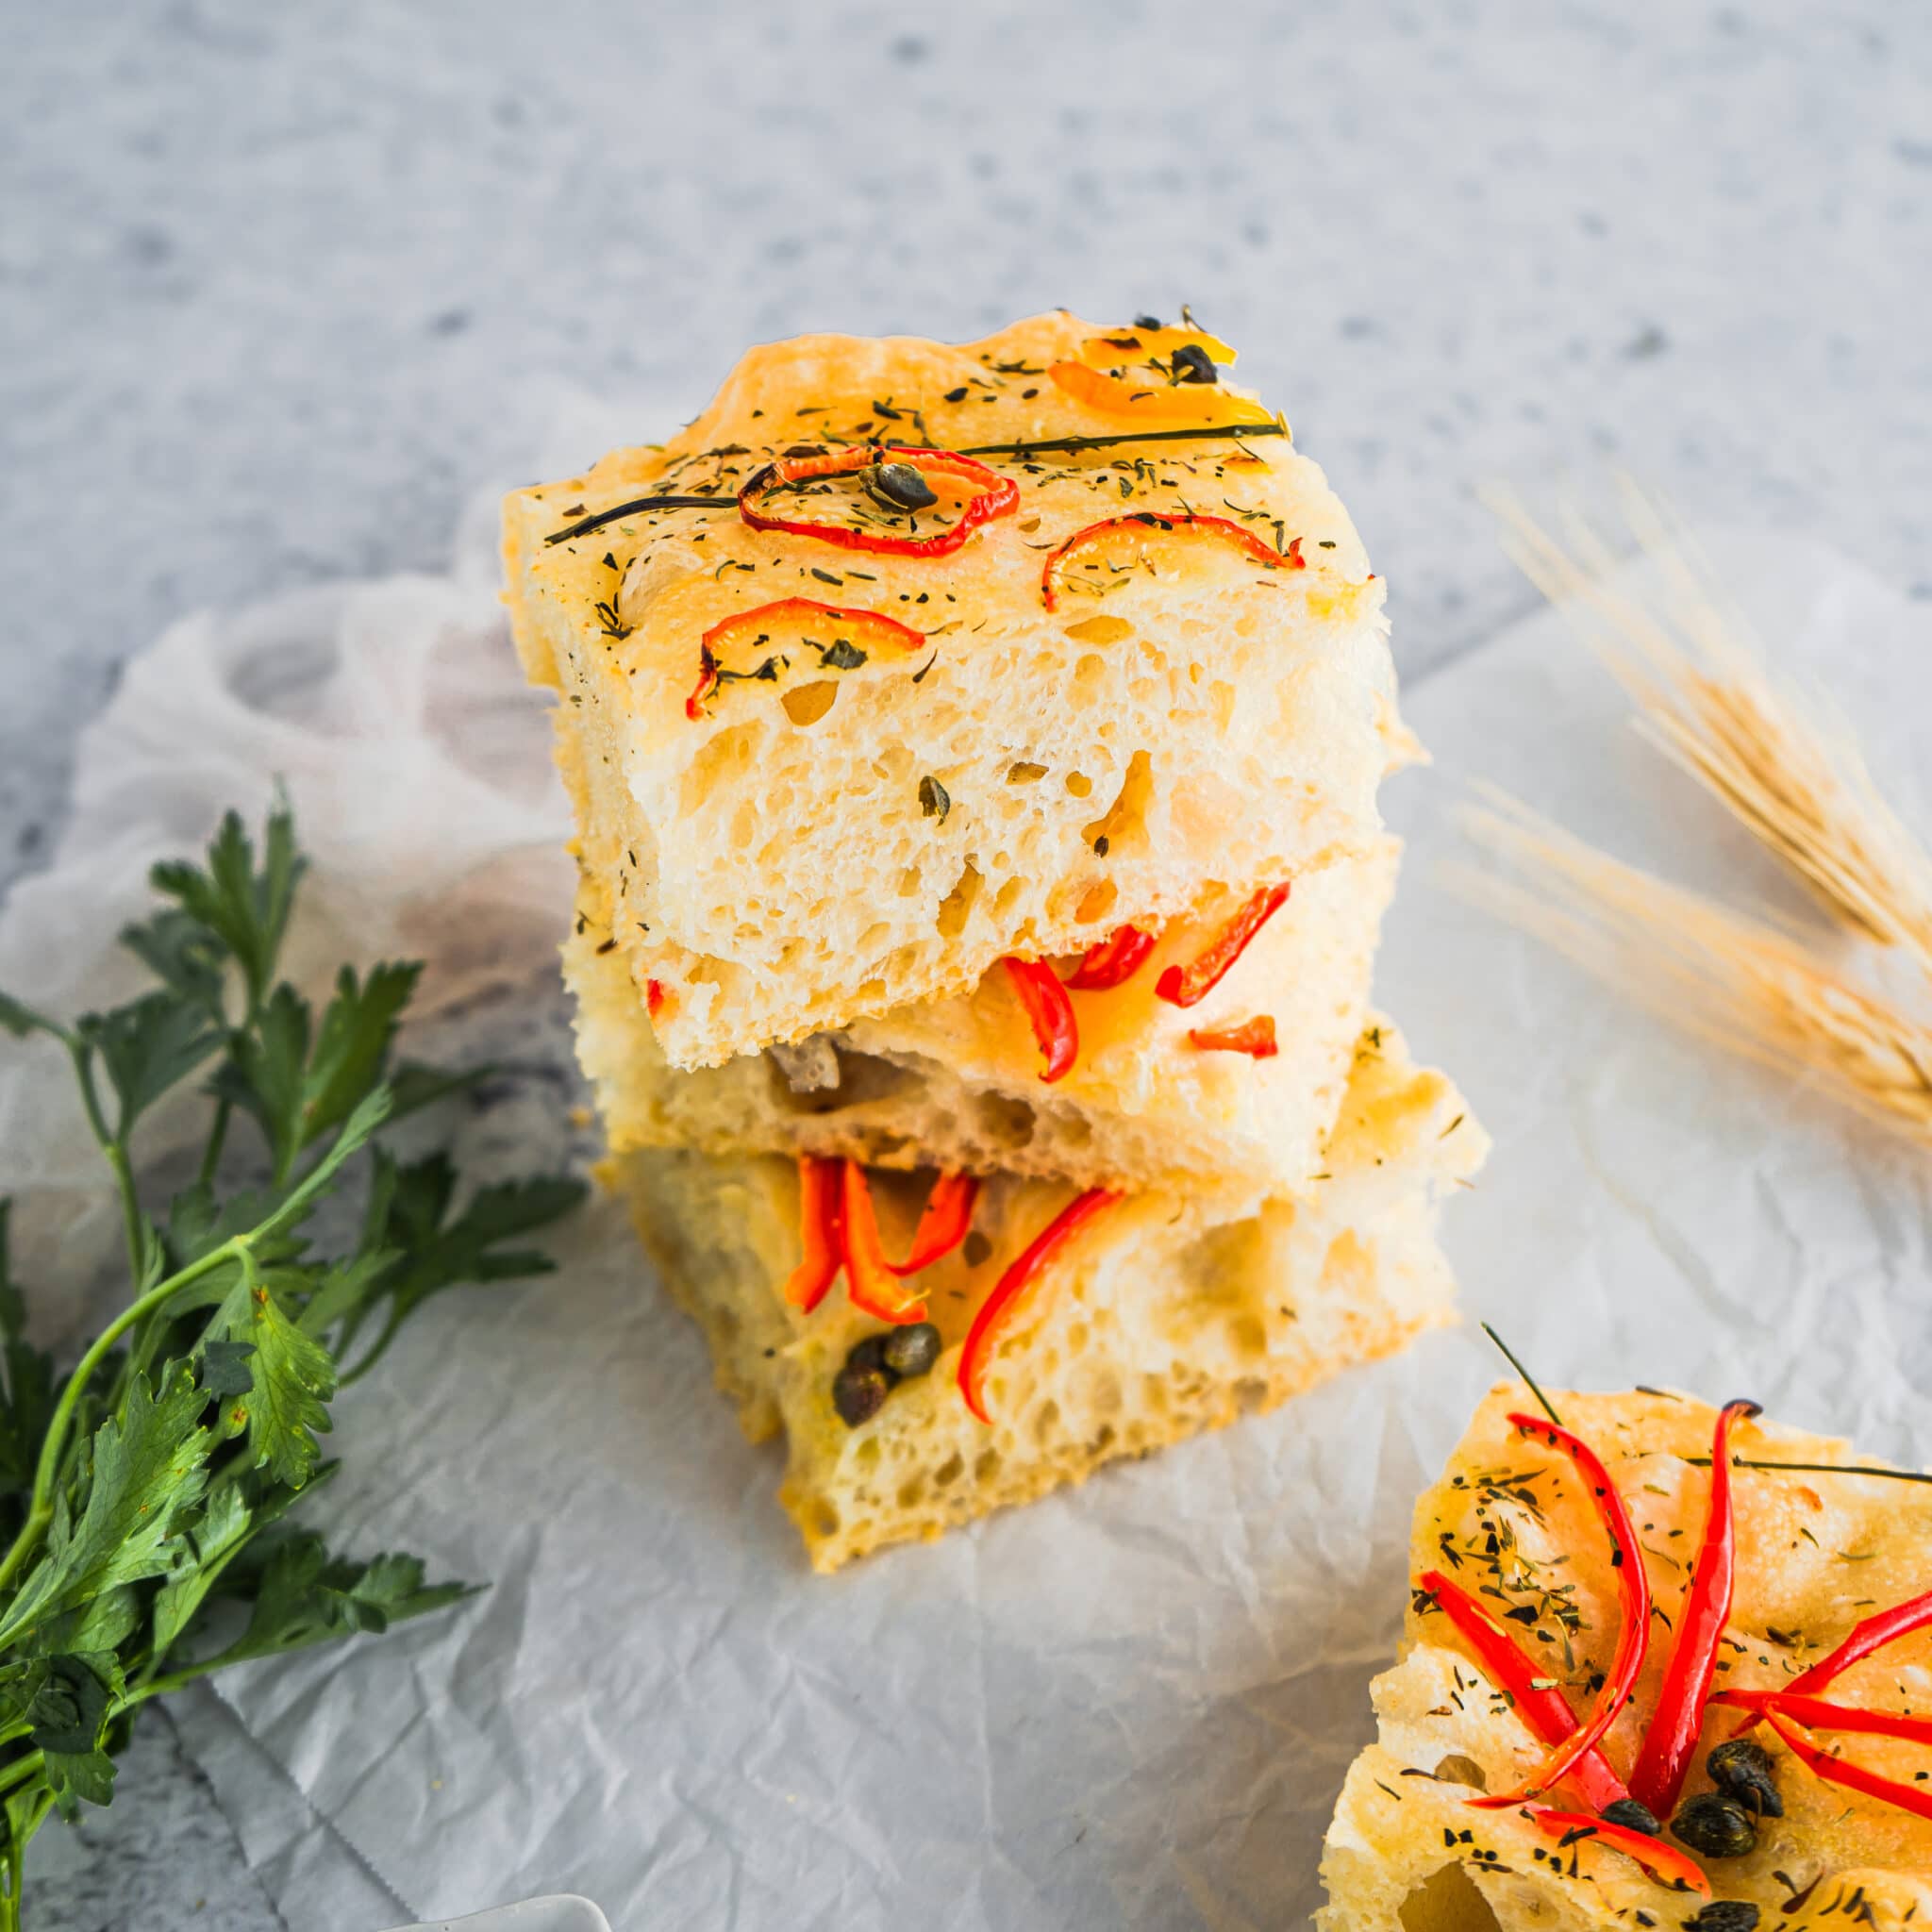
This beautiful homemade (and no-knead) focaccia recipe is decorated with mini bell pepper flowers, chive stems, and shallot tulips. The leaves are made using parsley for added adornment and flavor. Right before baking, the focaccia is drizzled with extra virgin olive oil, dimpled, and sprinkled with a generous amount of flaky salt. The result is a light and crispy bread that is the perfect accompaniment to a weeknight salad or pasta. Focaccia makes excellent sandwich bread too. Since this is a bread recipe, it is highly encouraged to use the gram and milliliter measurements by weighing with a scale, and prepare ahead for the overnight proofing process!
- Advanced
- 60 mins
- 16 servings


Ingredients
For the focaccia dough
- 3 ⅔ cup high protein bread flour (500 g)
- 1 ½ cups + 3 tbsp water (400 ml)
- ¼ tsp yeast (1.5 g)
- 5 tsp kosher salt (10 g)
- 2 tbsp olive oil (30 ml)
For the focaccia art
- 1 tbsp olive oil (15 ml)
- 3-4 mini red bell peppers (40 g)
- 6-8 chive stems (4.5 g)
- 1 tbsp capers (7.5 g)
- ½ shallot (30 g)
- 1 parsley stem (2 g)
- ¼ tsp kosher salt (1 g)
- 1 tsp Rodelle Herbs de Provence (1 g)
Uses
Occasions
Directions
- In this order, combine the water, yeast, flour, and salt in a stand mixer. At low speed, mix the ingredients for 5-6 minutes. Wet your hands and scrape the bowl down using a dough scraper. You want to make sure the dough is well developed.
- Add the olive oil and mix on low speed for 15 seconds, ensuring the oil is not completely incorporated. Using wet hands and a bench scraper, form the dough into a loose ball.
- Allow the dough to proof covered overnight, about 12-16 hours.
- The following morning, use wet hands to turn and fold the dough and repeat in 30 minutes. To turn and fold, imagine the dough has four corners. Lift and pull each corner to the middle, then turn the dough upside down. Turn and folding will trap the air bubbles into the dough.
- Once the dough has relaxed for 30 minutes, use wet hands to turn and fold the dough once more, but this time, place it into an olive oil greased half sheet tray. The dough will need to relax again for 15-20 minutes, then pull the dough to the edges of the pan. If the dough stretches back, allow it to rest again for about 10 minutes and try again.
- Allow the dough to proof until doubled in size. The best way to do this is to place it into an unheated oven with a tray of hot water underneath it. After about 1 ½ hours, check the dough with a wet finger. If the dough comes back slowly, it is ready to decorate. If it springs back quickly, allow it to proof longer.
- Once the dough is ready, place a baking stone into the oven and set the oven to 450 F (convection fan, if possible). Begin to decorate the focaccia while the oven is preheating.
- Slice mini bell peppers into rounds and remove the seeds. Also, slice a few mini bell peppers into thin strips for flower petals—trim chives to length. Drain the capers. Slice a shallot in half, leaving the roots intact to hold the layers together to make a tulip, then slice it thinly against the layers.
- Drizzle the focaccia dough with olive oil. Wet your hands, then dimple the focaccia all over with your fingertips. Decorate the top of the focaccia as you would like with the vegetables and herbs. Place the tray on top of the baking stone in the oven and bake for 5 minutes. After the time has elapsed, turn the oven temperature down to 400 F and bake for another 16-18 minutes.
Tips:
- Please use the gram and milliliter measurements for the most successful focaccia-making! You can do this by using a food scale.
- To make sure the dough is developed, wet hands and remove a small piece of dough. Stretch the dough with your hands to check for a “windowpane”. This means that the dough doesn’t tear but you can see light coming through.
- If your kitchen is cold, you can preheat an oven to 100 F, then turn it off. Cover the dough with a plastic bakery bag and allow to proof in the warmed oven.
- The amounts for the decorations above are only suggestions; feel free to add more or less decoration. Parsley is another great addition which can be used to make leaves on the chive stems.
Note: this recipe was prepared for Rodelle by Amanda at @frommetovuu.